Wednesday, November 20, 2013

Engineering...for girls

I just came across this commercial that a company called Goldie Blox put out to sell engineering kits to little girls.  I love teaching STEM, and certainly hope to see more girls go into those fields in the future. The video reminds me of the FOSS Balance and Motion unit, which is one of my favorite units to teach, but it was sad to me that already in first grade, a few of the girls in my class sat back and let the boys take charge and share their ideas.  Hopefully this will usher in a new generation of girls who are eager to build things, test predictions and experiment.

Maybe I'll get my niece one of their kits for Christmas this year :)


Watch the video here:

Model Magic Fun!

It has been raining in Bahrain! Not just the 30 seconds of rain we get a couple of times a year, but steady, sustained rain.  It has rained more in the last three days than in the last few years combined, so in a country with no sewer or drainage system, there have been a lot of flooded roads and buildings (including the top floor of my house).  A lot of schools were closed today, but ours remained open.  Good thing it did, because I had an amazing day with my kiddos!

 Our wet early childhood garden


We used Model Magic for the first time this year.  The kids loved it so much, they said it felt like playing with marshmallows and they kept thanking me for giving it them.  We've been working on our Health and Nutrition theme, so they picked their favorite fruit or vegetable to mold their Model Magic into and then they used pencil tips and marker lids to make indentations to make it look more like the actual fruit and vegetable looks.


We made them in the morning and then in the afternoon we used watercolor paints to paint them.  I think they came out looking great, and the kids were so excited for me to put them out in the hallway for their parents to look at during conferences tomorrow. 


Tuesday, November 5, 2013

Fun technology activity for pre-k

We are just wrapping up our Body and Senses theme this week.  One of the activities that we usually do after learning the names of the parts of the body is to have the students talk about how a time when they hurt a part of their body and then label the parts of the body to create a class boo-boo book. 

I am always looking for ways to meaningfully integrate technology into the curriculum in a way that engages the students, so it occurred to me that rather that just scribe what the students are saying for their boo boo stories, I could record their stories.  I used the app croak it, which is a free iphone app in the itunes store.  It's a simple, easy to use app that records up to 30 seconds of voice recording and stores it online.  I then used the links from croak it to go the website QR Code Generator to create individual QR codes linked to each students voice recording.  I printed the QR codes and attached it to their work so that students and their parents can scan the code and hear the child actually telling the story.  The students were so excited to hear themselves!  It was great too because a couple of students were able to identify the fact that they speak too soft or too fast or are too wordy (croak.it only records up to 30 seconds), so it was great for them to notice that and work on self-correcting.

Here's how the final product came out.  It was great to see parents scanning their child's work at dismissal today and hearing the stories they tell at school!


Scan this QR code to hear a sample story:
If you have any great suggestions for how to use technology in the early childhood classroom, leave a comment!


Wednesday, October 30, 2013

O is for octopus fine motor skills craft

I love when I find simple activities I can do with my class that kill two birds with one stone...or in this case three birds with one stone.


We just started learning about patterns this week in math, so I've been trying to think of some fun patterning activities to do with my kids.  I was straightening up my classroom this afternoon when it occurred to me that since we're also learning about the letter O this week, we could use pipe cleaners twisted into the shape of an octopus and put beads on them to practice making patterns.  The O shape in the octopuses head is a good visual reminder that octopus begins with O.  The patterns on the tentacles can easily be differentiated to allow students who have mastered A-B patterns to move on to more challenging patterns.  I asked the students to make their patterns 10 beads long so they could practice counting with one to one correspondence.  On top of that, putting the beads on the pipe cleaners is great fine motor skills practice, which is ALWAYS needed in pre-k.  Viola! Math, Literacy, and fine motor skills practice all in one.

To make it just take four pipe cleaners bend them in half and create a small circle at the top by looping the pipe cleaners around your thumb and twisting the pipe cleaners around.  Spread out the tentacles, glue on googly eyes and then put beads onto the tentacles.

Enjoy!

Sunday, October 27, 2013

Synonyms with Fancy Nancy

I have been getting a lot of re-pins from this picture I put up on Pinterest a couple of years ago:


When I taught first grade we did a lot work with synonyms and antonyms.  I wanted to encourage the students to use more interesting vocabulary in their writing.  We read a few Fancy Nancy books and discussed how Nancy was able to use fancier versions of ordinary, over-used words.  I made this poster and as students discovered words that were synonyms for these words, they could write the synonym on a popsicle stick and put it in the pocket.  I hung the poster low enough that students could reach it.  I was pleasantly surprised how much they used the popsicle sticks during writer's workshop, going through the pockets until they found a word that would make their writing sound more interesting. 

Here's a copy of the heading paper and the words from the poster.  Just cut and attach the words to sticky backed library pockets.  Have fun with it!


Sunday, October 20, 2013

Playdough!

We use play dough A LOT in pre-k.  Not only is it fun, but it's a great way for students to strengthen the muscles in their hands and practice letter and number formation.  I have a play dough recipe that I love, it has a great consistency and it lasts a really long time.

Have fun making it!


  • 1 cup of flour
  • 1 cup of water
  • 1/3 cup of salt
  • 1 tablespoon oil
  • 2 teaspoons cream of tarter or vinegar
  • Food coloring

Turn your burner on medium/low, add all ingredients and stir. It will be a little lumpy. That’s okay- you can work them out later.  Take it out of the pan to cool.  Once it’s cooled, knead the play-dough for a minute or two to get out any lumps and to get it to a better consistency.  Keep in a Ziploc bag or air tight container for storage.

Here's a link to a letter we sent out to parents so that they can make play dough at home too. 


Friday, October 4, 2013

Pumpkins, Pumpkins, Pumpkins!

I'm slightly jealous of the lovely fall weather that everyone back home keeps talking about, so on Sunday I made my favorite Pinterest find ever- pumpkin pull apart bread for a meeting with the early childhood teachers.


Then on Monday I had my After school activities baking club, so we made pumpkin pancakes.  I have 7 first and second grade girls, who all insisted that they hated vegetables, especially pumpkin.  Turns out they changed their tune and loved the pancakes after all! This isn't the most appealing picture, but they were good.


Here's the recipe we used:

Pumpkin Pancakes


  • ·        1 1/4 cups flour
  • ·        2 tablespoons sugar
  • ·        2 teaspoons baking powder
  • ·        1/2 teaspoon each of cinnamon, nutmeg, and salt
  • ·        1 cup milk
  • ·        6 tablespoons canned pumpkin puree
  • ·        2 tablespoons melted butter
  • ·        1 egg
Whisk flour, sugar, baking powder, spices and salt in a bowl. In a separate bowl whisk together milk, pumpkin, melted butter, and egg. Fold mixture into dry ingredients.  Spray or grease a skillet and heat over medium heat: pour in 1/4 cup batter for each pancake. Cook pancakes about 3 minutes per side. Serve with butter and syrup. 


Lastly, I put out my Halloween decorations today.  Real pumpkins are exorbitantly expensive here, so we use clay ones instead.  

It may not feel like fall here, but clay pumpkins in the desert and pumpkin flavored food is close enough :) 

Monday, September 30, 2013

Kevin Henkes Author Study

Our first author study of the year is Kevin Henkes.  The kids love his stories, even though a few of his books are a bit long for the beginning of the year when attention spans are at their shortest.  My fellow pre-k teacher and I had a hard time finding activities that were appropriate for four and five year old kids who aren't reading and writing yet, so I created some activities on my own.  

Here are a few of the activities that we did: 
 

 A class book to go with Julius the Baby of the World

 A memory match game to go with the book Birds

 Cutting practice to go with Lilly's Purple Plastic Purse

 
A color by number to go with Lilly's Big Day

The pack I created comes with 15 pages of activities to use with preschool, pre-k, or kindergarten aged children.  It has activities to go with:
-Bailey Goes Camping
-Julius the Baby of the World
-Birds
-Lilly's Big Day
-Lilly's Purple Plastic Purse

It has a range of activities, including:
-Patterning
-Fishing (motor skills)
-Tracing on straight, curved, and diagonal lines
-Cutting on straight, curved, and diagonal lines
-A class book to display for parents
-Memory Game
-Color by Number (up to 5)

Let me know if there's a particular story you would like me to add to the pack or if there's a particular skill you would like me to create an activity for. 
To get the pack go my Teachers Pay Teachers page here.

Enjoy!

Friday, September 27, 2013

Homophones and Homographs

A couple years ago I posted pictures of some homophone and homograph posters on Pinterest and lately they have been getting re-pinned  a lot, so I thought I would post  a link to the clip art that I used to make them. 

Homograph clip art
Homophone clip art

Enjoy!


Name writing activities


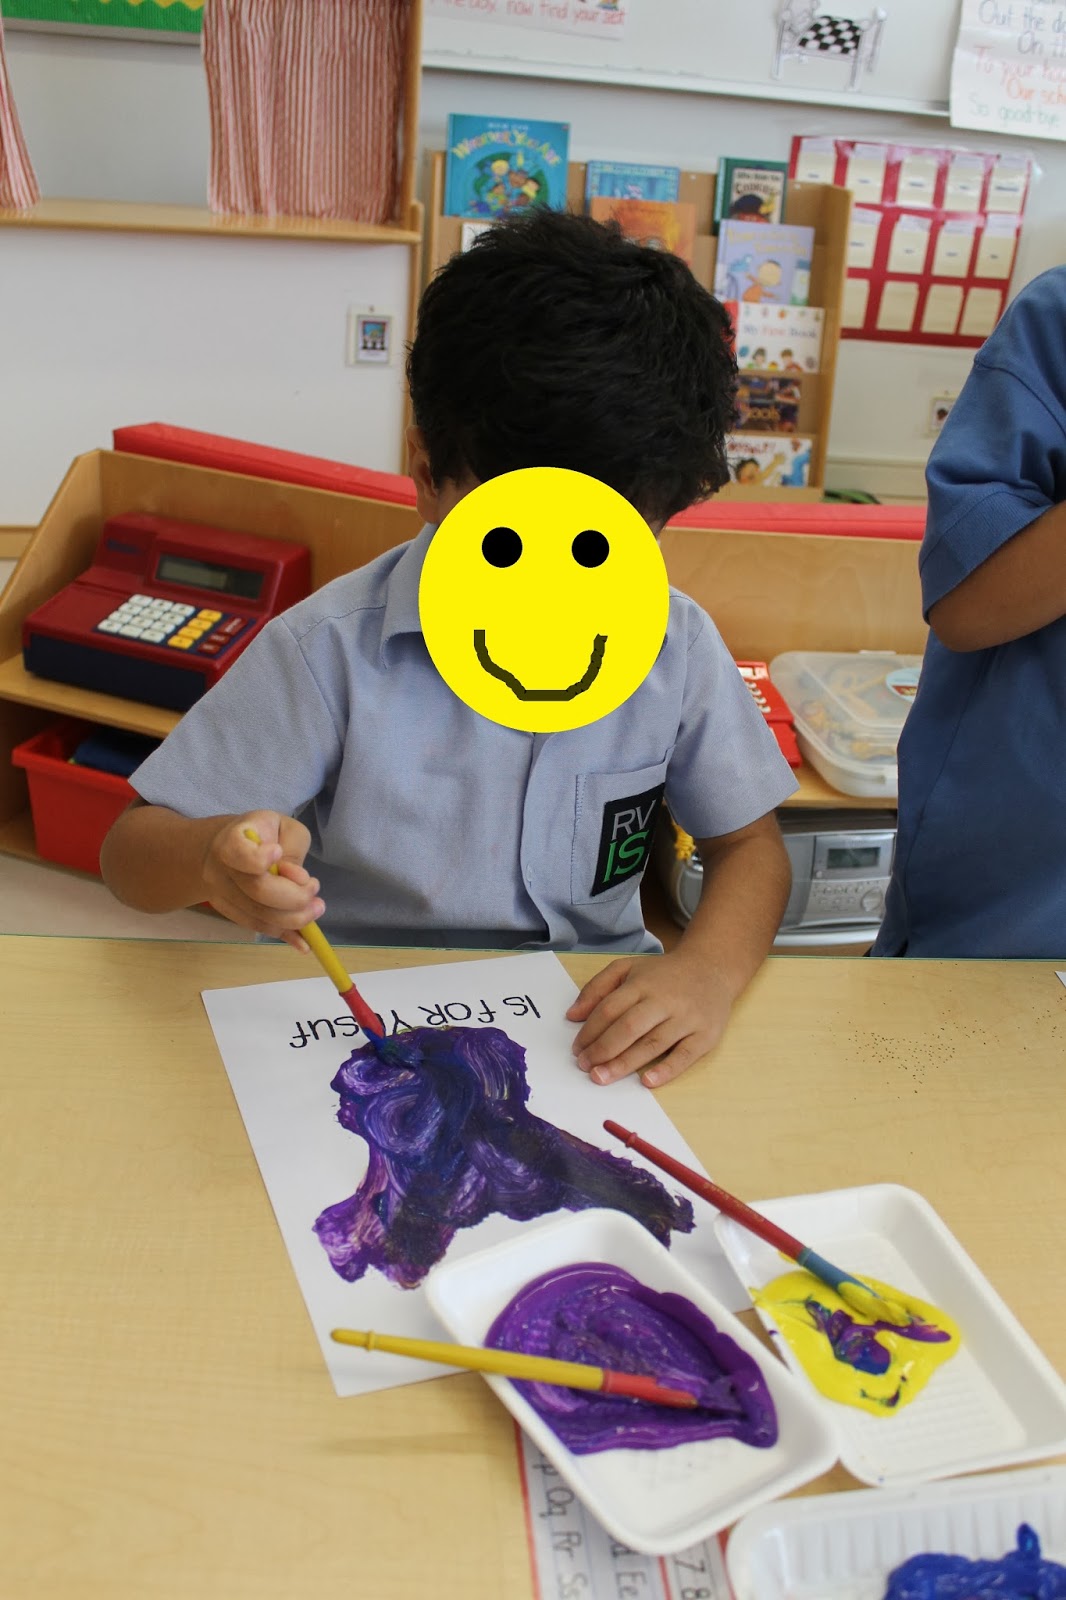
It's several weeks into the school year and I haven't posted anything about my new class yet, but it's all good- they're a great bunch!  I have 11 kids and they are loads of fun and full of personality.  I'm so lucky that their transition was easy, I didn't even have any criers on the first day!  We've been hard at work on identifying their names, identifying the letters in their names, and getting the muscles in their hands strong enough to be ready to start writing their names.  Here are some pictures of the name writing activities we've done so far this year. 


We started learning about names by focusing on the first letter.  My students fancied up their first letter with paint and glitter. We made fancy names using some of the materials in the art center. 


On Deanna Jump's blog I found this cute Wheels on the Bus activity.  My kids had a hard time getting through the song without giggling...it was a lot of fun!

If you want the words I used for the poster here they are: Wheels on the bus poster words
And here are the things that the students cut out: Wheels on the Bus student papers


We worked a lot on name identification too.  We used do-a-dot markers to decorate their names.  We also put their handprints on the paper too and laminated it so that they can be placemats for playdough this year.  


 Here are my students fishing for their names.  I printed out clip art fish on cardstock and wrote the names of each of my students on the fish.  Then I attached a paperclip mouth on each fish and gave students a magnet on a piece of yarn to go fishing with.  They loved trying to catch their names!


We worked on fine motor skills and letter recognition by making name mosaics.  They came out really nicely!


 We also did the same thing but with pasta.


We worked on learning the letters in their names, in order, by putting together name puzzles. 
I used a hot glue gun to go over their names so that they could be used to make crayon rubbings. 

We used alphabet stamps and glitter paint to stamp out their names with the letters in the right order.


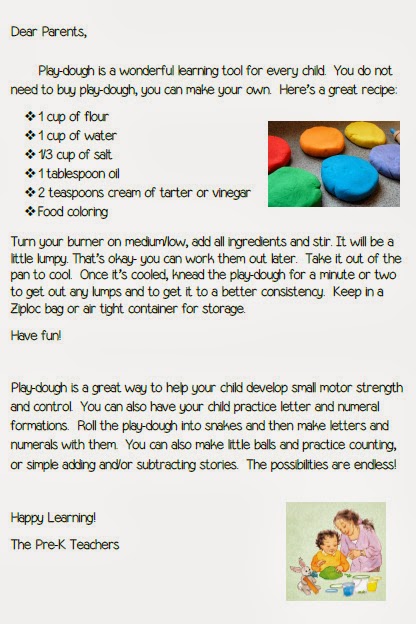
We did a similar thing using playdough to make the letters in their names.  If you want my favorite play dough recipe go here: Playdough Recipe

This is a sorting activity.  Students were given foam letters and they had to sort them into two columns, letters in my name and letters not in my name. 


Once we finally started writing their names, we used this disappearing names worksheet where they slowly start writing more and more of their name and we went outside in the HOT, HOT sun and used sidewalk chalk to write the bricks surrounding our early childhood playground. 


Here's a poem we used throughout our time working on names.

If you have any great name activities leave a comment!

Saturday, August 31, 2013

Classroom Contract

I'm not sure where this originally came from, but I always had it posted on my wall when I taught kindergarten and first grade.  During the first week of school when we were discussing classroom expectations for the year, each student would come up and sign the bottom if they could promise to follow the promises in the poem. 


Meet Your Teacher book

This summer I was lucky enough to attend the I Teach K! Conference in Las Vegas.  One my favorite presenters was Shari Slone who brought a plethora of classroom books along with her for teachers to look at.  One idea she had that I really liked was making a Meet Your Teacher book to read to your students on the first day.  Luckily there are artsy people out there who made lovely templates for meet the teacher books, so I bought this one from tPt.  I'm excited to share it with my students in a couple of days!


Thursday, August 29, 2013

Daily Schedule

Here's the schedule that I send home with parents at back to school night (or in our case Back to School day...woohoo!)


There is an editable copy of it you can download for free here!


Be sure to pin it on pinterest

Wednesday, August 28, 2013

Beginning of the Year Bulletin Baord

Here's the bulletin board I made for the beginning of the year.


Pin it on Pinterest here!


Here are a few cute bulletin boards that the other early childhood teachers at my school put up...


Monday, August 26, 2013

Color Posters

Back to School!

Today was the first day back at school for me.  It was great to see my friends and co-workers and hear about the fun summer adventures that people had!

My break was fabulous by the way...I went to Nepal, Las Vegas, Utah, Wyoming, Ohio, New York, New Jersey, Pennsylvania, and Ecuador.  It was really, really busy, but I got to see a lot of my friends and family, so I can't complain.

Here's me with my mom, and my nieces and nephew at the Ohio State Fair. 


I haven't had much time to work on decorating my classroom yet, but here's a link for some color posters I made to display on my classroom wall.  I wasn't happy with the posters that were commercially available, so I made these using pictures of things that the students are familiar with.


Download my Color Posters here

and be sure to pin it Pinterest!

Enjoy!

Sunday, July 7, 2013

Community Helpers

One of my favorite themes this year was community helpers.  We got to go on field trips to fun places like the the post office, the fire station, and the dentist office.


Here are some follow-up sheets the students completed after the trip:


 We used the costumes and props in the drama center:


My students especially loved using this cute pet intake form while playing vet.  I found it here at Kindergarten Night Owls.


We made class books like this:


We learned a song the follows the tune of the wheels on the bus.  Here is a powerpoint I made to help the students learn the words:


Towards the end of the unit, we talked about what students want to be when they grow up and then we created this poster that says: When I grow up I will be someone who helps my community!  I used clip art pictures of community helpers and put my students faces in place of the clip art faces.


Here is a link to the clip art that I used and the labels for the bottom of the graph.

We then hung this poster in the center of the bulletin board and surrounded it with these community helpers that my students cut out of construction paper.  It was amazing to see how much their scissor skills have improved from the beginning of the year!


If you want to download the templates I made, go here for a free download.  I just cut down construction paper so that it would fit into the printer.

Enjoy!